Let me just say this: I LOVE MARLEY TWISTS!
Ok. Now that I've shouted that from the mountain tops, let me explain. I recently wrote this post for Three Naturals, about the pits of protective styling. After getting some Senegalese twists done last month that only lasted me a few days, I learned how to do my beloved Marley twists, all by myself! I promised that I would do an updated post the next time I installed them, so here it is!
My first round of Marley twists weren't perfect, but they were all mine, and they served their purpose for about 2 weeks. I took them down and left my hair out for a week, deep conditioning and rocking a cute twist out until it was time to Marley it up again. My video skills (and my Marley twisting skills, to be honest) need some practice, but I got HomieLoverFriend to play photographer so that I could capture my technique, step by step!
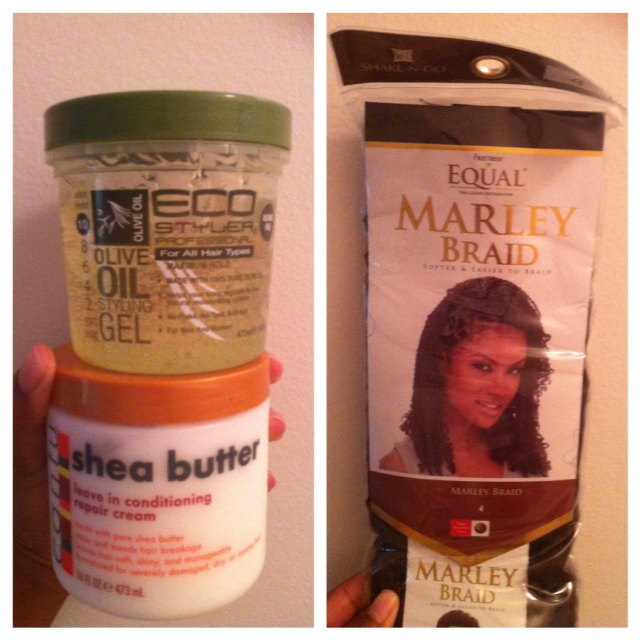
First, I got my tools together (purchased at Clore Beauty in Scarborough):
- Freetress Equal Marley braids in #4 (I used 3.5 packs)
- Cantu's Shea Butter leave-in conditioning repair cream
- ECOStyler Olive Oil styling gel
- a wide tooth comb to part and detangle
- banana clips to hold parted hair up and out of the way
Next, I used my fingers and wide-tooth comb to gently comb out my twist-out into a 'fro.
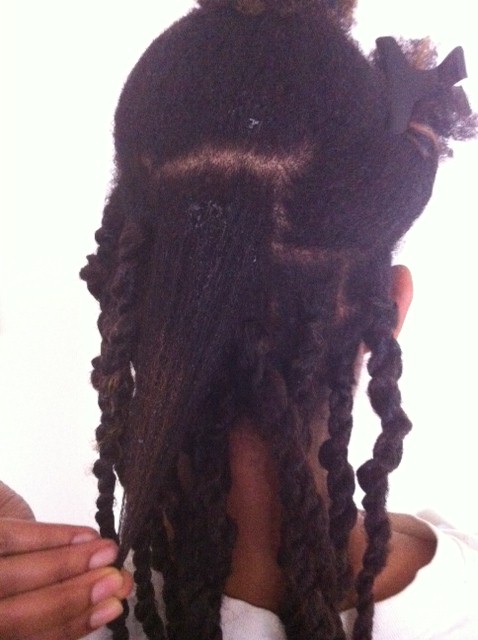
To do the twists, I began parting my hair section by section, starting at the nape:
Once you finish and let go of the twist, it will naturally spring back and might feel a bit loose. Don't worry! This is because the twist itself is thick - it will stay put!
Now, as I've said before - if I can do these twists, anyone can. I am definitely not the most coordinated person, and while it took my hands a few tries to match what my brain wanted it to do, I eventually got it - AND I did a better job than last time! It took me about 3 hours to do my entire head, so my routine will be to leave them in for 2-3 weeks, remove, deep condition, then retwist. It feels great to have a nice protective style that I can do at home while I watch a movie! Also, it's very cost-effective, as I was able to use the same twists over again for this second set of Marley twists. I do have to perfect the "anchoring" part (what I call starting off the twist), because some parts of my head are easier than others. I also have to perfect the front and try to get the twists closer to my hairline. But other than that, I'm loving my Marley twist work!
If you need a video to see the twists in action, here are 2 great ones that I watched before I embarked on my own journey:
[youtube]http://youtu.be/Kd87jc8D8QY[/youtube] (via The Good Hair Blog)
[youtube]http://youtu.be/ndMMfjUbmgw[/youtube] (via Curly Nikki)
Got ready for work in the morning, and rocked a cute ponytail - no muss, no fuss! Yay for Marley twists!
Hopefully when I get better at the twists and can do them smoothly without succumbing to stage fright, I'll try to create my own video tutorial, because I know pictures don't always do it justice. If you have any questions or need help, let me know and I'll do my best!


